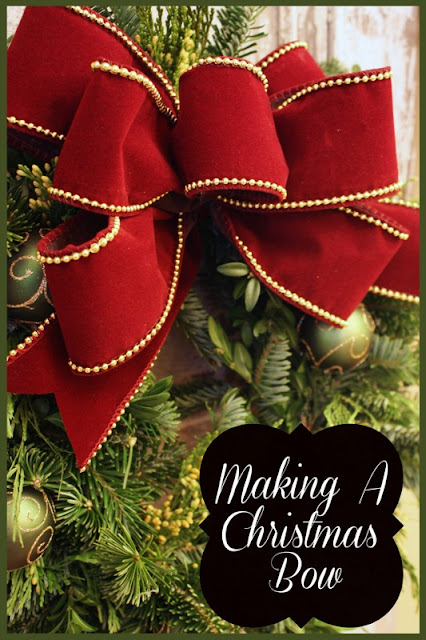
Bows are like lipstick on a wreath... they make them look bright and prettier!
I had many request to share how I make what I call...
THE CHRISTMAS BOW
This prim and proper bow finds it's way onto wreaths and Christmas presents around StoneGable. It's sorta my signature bow!!!
StoneGable Christmas Bow
long piece of thin wire or pipe cleaner
wire edged ribbon
wire cutters
scissors
1. Gather supplies
2. Find the end of the ribbon
3. Pinch the end of the ribbon together
4. Do the TWIST... make a small loop with the ribbon and twist the end of the loop so the right side of the fabric is facing up. You will be doing the TWIST often for this bow. This is an important, easy technique to learn. Hold the TWISTS together between your thumb and pointer finger.
5. Stack the pinched end (#3) on top of the TWIST (#4) and hold together. This is the center loop
6. Take a length of ribbon longer than the first loop and make another loop. This will be one of the side bow loops. Hold together
7. Do the TWIST and hold together.
8. Follow direction #6 and make the loop on the other side of the bow. Do the TWIST (#4)
9. Make two longer side loops by following directions # 6 and 7. Now you have a center loop and two pairs of side loops. If you want a third pair of loops repeat directions #6 and 7 again. Make sure to make each loop just a little longer than the last set of bow loops.
10. Make one big loop and do the TWIST, and hold all the ribbon together . This will become your two pretty ends
11 . Slip a wire through the center loop and catch all the ribbon you are pinching together. Secure by twisting the wire tightly around the ribbon.
12. Cut the big loop in half and make french ends
Wire to a wreath or package. Fluff!
Here is a triple Christmas Bow I made for the wreath on my front door.
Use the same directions... put one ribbon on top of the other.
I hope this helps to make your Christmas a little more...
MERRY AND BRIGHT!
Remember to


0 comments:
Post a Comment